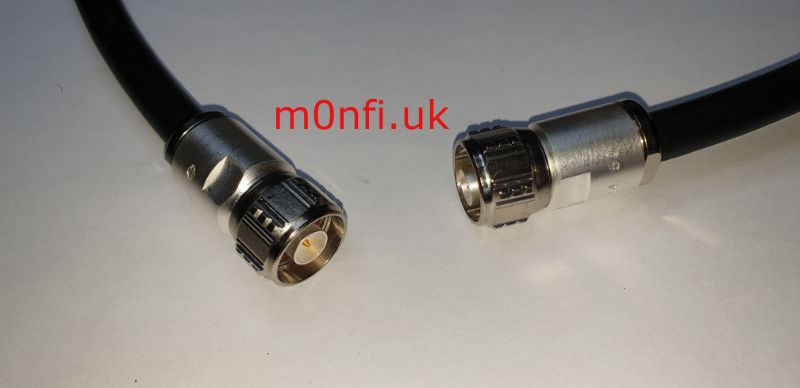
How To Install N Type Plugs.
I've heard a few hams say N type plugs are hard to fit so they avoid them or use a PL259 and an adapter. I've taken a few pictures while I fitted some plugs to show how simple and straightforward they are to fit.
The manufacturer's instructions are very clear and easy to follow but I changed a couple of steps to make it easier.
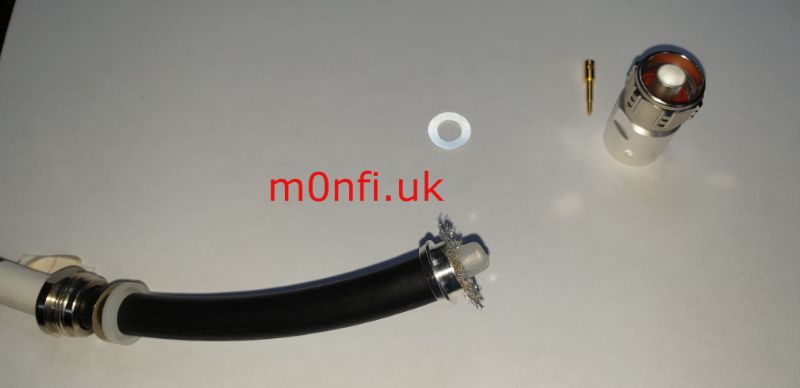
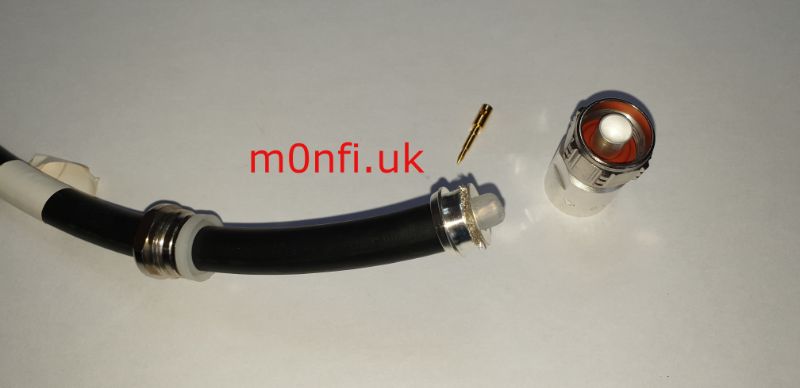
Step C shows sliding parts 1, 2 & 3 onto the cable after stripping the outer jacket off. It's much easier fitting these with the jacket on so you don't have the braid getting in the way. If you put a piece of tape around the outer jacket a few inches from the cable end it will stop the parts sliding too far up the coax while you prepare the end. It then shows sliding part 4 over the braid, this was very difficult as the braid was catching against the part. I found one wrap of PVC tape over the braid made it much easier to slide the part on. The white tape can be seen in my pictures below.
When Sliding part 4 over the braid and onto the outer jacket, make sure it is firmly pushed as far as it will go onto the jacket.
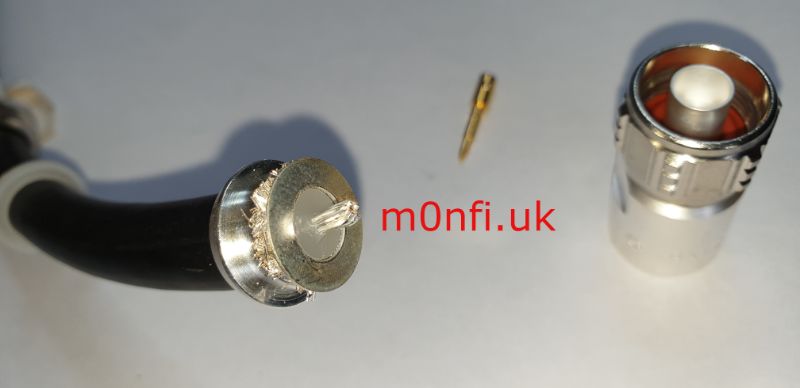
Figure 4 f), use the washer part 5 as a guide for your knife blade. One the dielectric is removed it should be about flush with the washer (part 5) when you hold it against the braid.
It looks like a lot of steps but it's basically:
- Slide the first parts on and cut the jacket off.
- Slide next part on and trim braid.
- Slide next part on and trim dielectric.
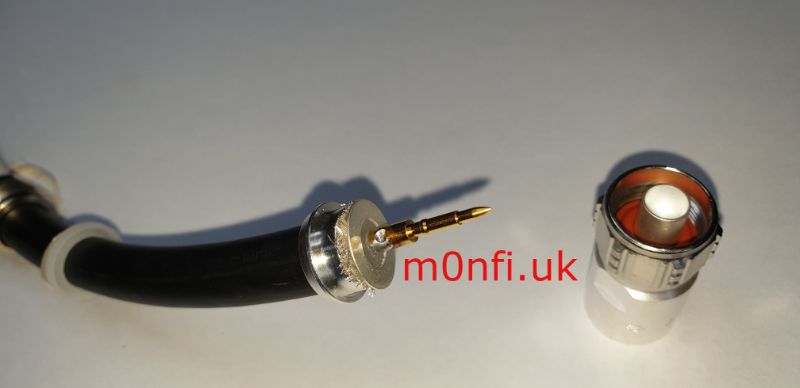
- Solder pin.
- Assemble the main body and tighten the locknut.
If you click the first image in the gallery below it will show it, you can then scroll through the images by clicking the left and right arrows


